

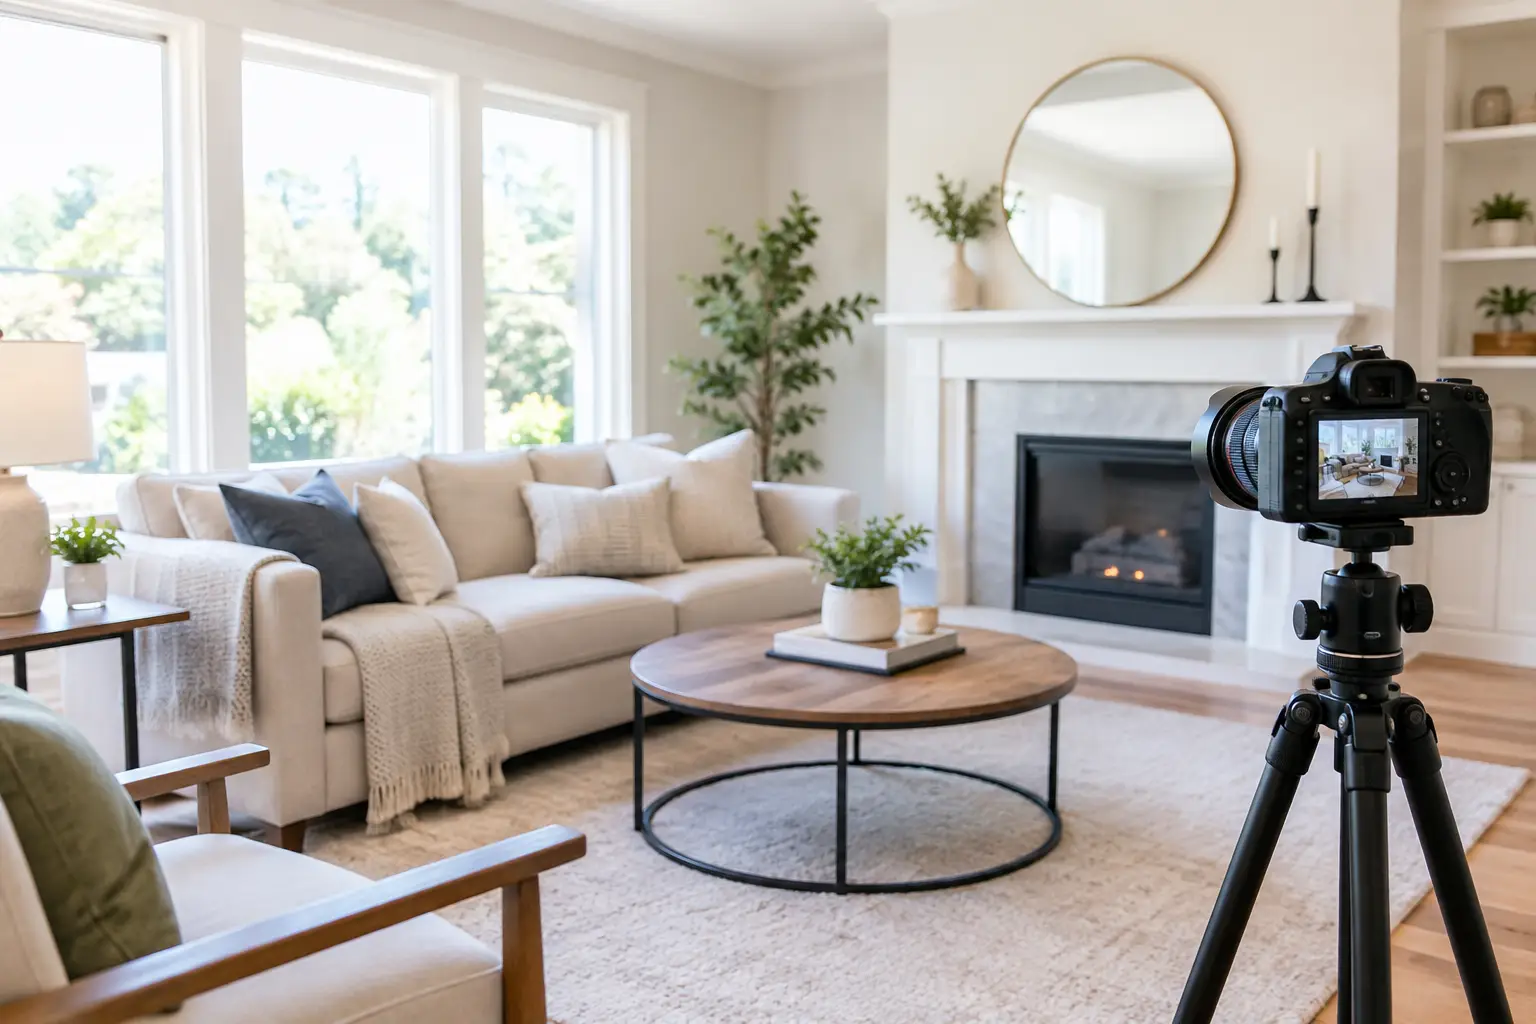
The first listing photo is often the buyer’s first showing. Before they read the remarks, compare square footage, or schedule a tour, they decide whether a home feels worth their time. Knowing how to prepare your home for photos helps agents create stronger MLS images, more compelling Zillow placement, and social content that earns a second look. The goal is not to make a lived-in home look artificial. It is to remove distractions so buyers can see the space, light, layout, and value you are marketing.
How to Prepare Your Home for Photos Before the Appointment
Treat the photo appointment like a showing with a much wider audience. A buyer may study every image on a phone screen, then zoom in on details that would barely register during an in-person walkthrough. The property should be fully ready before the photographer arrives, since moving furniture, cleaning counters, or locating spare lightbulbs during the appointment takes time away from capturing the home.
Confirm access, parking instructions, gate codes, and any community restrictions in advance. If the property is occupied, give sellers a simple prep schedule rather than a vague request to “tidy up.” Ask them to finish cleaning, pet arrangements, and personal-item removal the night before. Morning-of preparation should be limited to opening blinds, making beds, and putting away the last daily-use items.
If the listing includes aerials, video, a 3D tour, floor plan, or twilight imagery, coordinate the property for the full production plan. A home that is ready for still photos but has cars in the driveway, pool equipment exposed, or clutter visible in the yard can lose impact in drone and video footage.
Start With Decluttering, Not Decorating
Decluttering creates visual square footage. Buyers need to understand how a room functions, where furniture fits, and how one area connects to the next. Too many objects compete with those selling points.
Clear kitchen counters except for a few intentional items, such as a small plant or a simple tray. Remove refrigerator magnets, dish racks, paper towels, cleaning supplies, pet bowls, and countertop appliances that are not essential to the room’s appearance. In bathrooms, put away toiletries, medications, toothbrushes, scales, laundry, and trash cans.
Personal items deserve the same attention. Family photos, name plaques, calendars, political material, children’s artwork, and highly specific collections make it harder for buyers to picture themselves in the home. This is not about erasing personality. It is about making the listing feel broadly inviting while protecting the seller’s privacy.
Storage areas should look usable, not overfilled. Closets, pantries, garages, and laundry rooms do not always need extensive photography, but they may appear in video, 3D tours, or detail shots. If these spaces communicate storage value, remove loose bags, damaged boxes, and anything that makes the area feel smaller.
Clean What the Camera Will Notice
A camera records contrast and reflection more sharply than the eye does. Smudges on stainless steel, streaks on glass doors, dust on dark furniture, and water spots on faucets can pull attention from an otherwise well-prepared room. A professional cleaning is ideal for larger or luxury listings, but every property benefits from a targeted final pass.
Focus on floors, windows, mirrors, countertops, appliances, sinks, showers, and ceiling fans. Replace burned-out bulbs and make sure fixtures use matching color temperatures where possible. Mixed warm and cool bulbs can make a room look uneven, especially in interior photos and video.
Do not overlook details outside the main rooms. Clean the front door, sweep the entry, wipe patio furniture, skim leaves from the pool, and remove hoses, bins, toys, and yard tools from view. In Florida, outdoor living space is part of the value proposition. A clean lanai, pool deck, balcony, or backyard can be as important as the kitchen.
Use Light to Show the Home at Its Best
Natural light usually creates the most inviting listing photos, so open blinds, curtains, and shutters unless a window has an undesirable view or severe glare. The photographer will balance exposure, but clear access to daylight helps show the room’s scale and connection to the outdoors.
Turn on interior lights before the appointment, including lamps, under-cabinet lighting, and accent fixtures. This adds warmth and makes rooms feel ready to use. In some homes, especially those with abundant windows or contemporary lighting, the photographer may adjust certain lights to reduce reflections. That decision depends on the room, the time of day, and the desired final look.
Avoid relying on dark curtains or closed shades to hide a mediocre view. If privacy is a concern, discuss it ahead of time. Partial blinds, sheer curtains, and selective framing can often protect privacy without making the home feel closed in.
Prepare Each Room for Its Marketing Job
Every room should communicate a clear purpose. A spare bedroom used as a storage area can read as a lost opportunity in a listing, while a simple desk and chair can help buyers see it as an office, nursery, or guest room. You do not need to over-stage every space, but ambiguity costs attention.
Kitchen and dining areas
Set the dining table simply, if at all. A neutral centerpiece is enough. Large floral arrangements, place settings, and oversized decor can block sightlines and make the room feel crowded. Align dining chairs, hide trash cans, and make sure barstools are evenly spaced.
In the kitchen, remove small rugs if they look worn, straighten cabinet hardware, and clear the sink. Fresh fruit or a small plant can add color, but keep styling restrained. Buyers should notice the counters, cabinetry, appliances, and layout first.
Living spaces and bedrooms
Arrange furniture to reveal walkways and focal points. Pull furniture away from walls when the room allows it, straighten throw pillows, fold blankets neatly, and hide cords. If a large sectional overwhelms the room, consider temporarily removing an extra chair or side table.
Make beds with coordinated bedding and remove excessive decorative pillows. Bedroom photos should feel calm and spacious, not like a catalog display. Under-bed storage, laundry baskets, and visible charging cables should be out of sight.
Bathrooms and utility areas
Use fresh towels, close toilet lids, and remove bath mats if they are worn or visually busy. A clean shower enclosure and polished mirror make a major difference. Laundry rooms should have clear surfaces and neatly stored products, especially if the space has built-ins or valuable storage.
Create a Strong Exterior First Impression
The exterior image often becomes the lead photo, so the front of the home needs to be ready before the photographer arrives. Move vehicles from the driveway and away from the curb when practical. Put away garbage and recycling bins, roll up hoses, remove seasonal decorations, and sweep the walkway.
Mow the lawn, edge visible landscaping, and remove dead plants or weeds. If time and budget are limited, prioritize the entry, front landscaping, pool area, and any view that will be featured prominently. Fresh mulch and potted plants can help, but maintenance and cleanliness matter more than expensive landscaping.
For waterfront, golf-course, or city-view properties, make sure gates are unlocked and outdoor seating is arranged to face the feature. The image should immediately answer why that location is valuable.
Keep the Home Photo-Ready During Production
Once photography begins, sellers, children, guests, and pets should leave the property when possible. This gives the photographer clear rooms and allows video or 3D-tour capture without interruptions. Pets can be difficult to remove from a 3D tour after the fact, and their beds, crates, food, and toys are easy distractions in photos.
Leave a final walk-through list by the door: lights on, blinds open, fans off, televisions off, toilet lids down, and vehicles moved. This is especially useful for larger homes, vacant listings being staged, and properties with multiple decision-makers.
If something cannot be repaired before the shoot, do not try to hide it with temporary fixes that will show in close-up images. Let the agent and photographer know. The right framing may minimize the distraction while keeping the marketing honest.
Match the Preparation to the Media You Ordered
Different marketing assets reveal different parts of the property. Still photography highlights key selling features. Video shows flow and lifestyle. A Zillow 3D Home Tour gives buyers a closer look at room layout, while floor plans help them understand dimensions and connections. Virtual staging can help vacant rooms feel purposeful, but it works best when the base space is clean, empty, and well-lit.
For listings that need to launch quickly, preparation protects the schedule. Virtuals1 can deliver listing media with same-day turnaround, but fast delivery has the most value when the home is ready to publish without reshoots, cleanup edits, or missing exterior shots.
A well-prepared home does more than photograph well. It helps buyers focus on the features that justify the price, gives your listing a stronger first impression across every platform, and lets your marketing go live with confidence.